Sections can be part of a strata plan. One strata plan can have multiple sections.
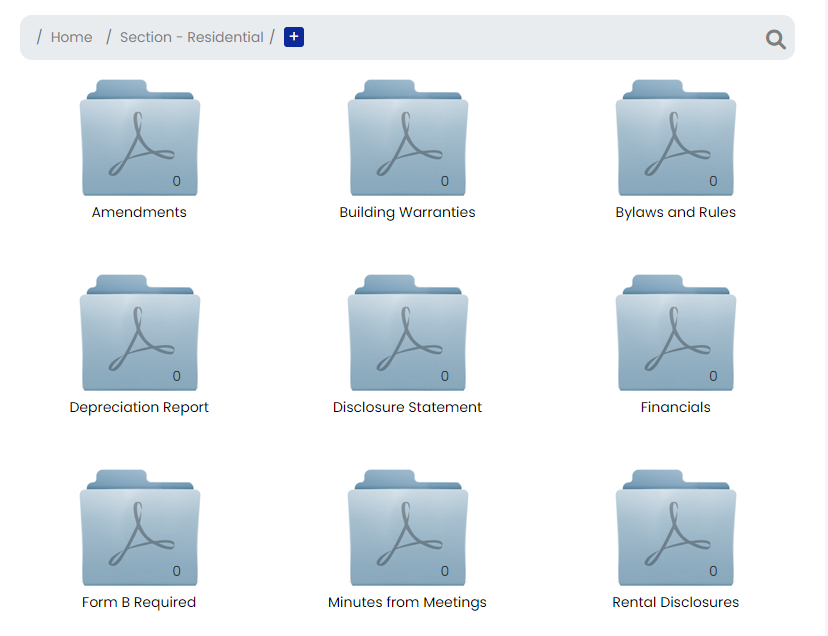
Each section has its own set of documents, so when you add a Section to s strata property, it will have all of the same default document folders as any other property.
Sections can have their own Depreciation Report, or they can share the same Depreciation Report as the main strata.
How to add a Section:
You can add a Section to a new property or an existing property.
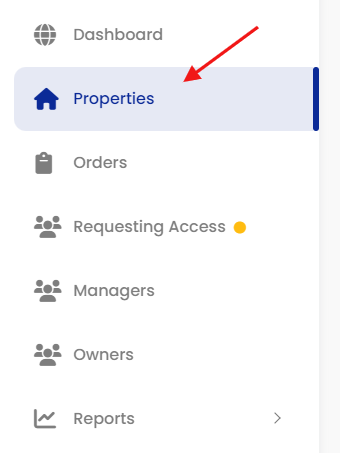
Go to the Properties section of the dashboard.
Go to ‘Edit Property‘ using the mini-menu located to the right of the property listing.

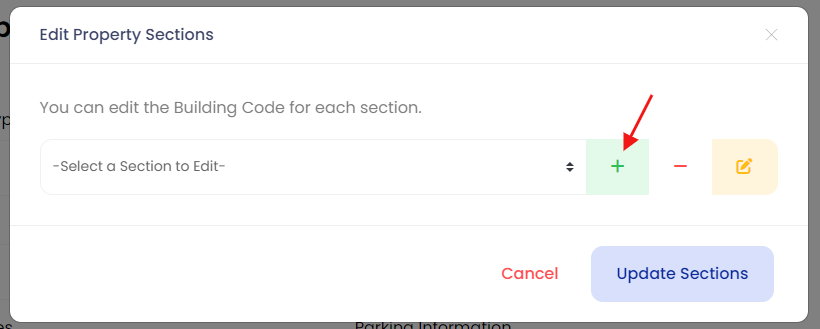
At the bottom of the Edit Property page you’ll find the option to add a Section.
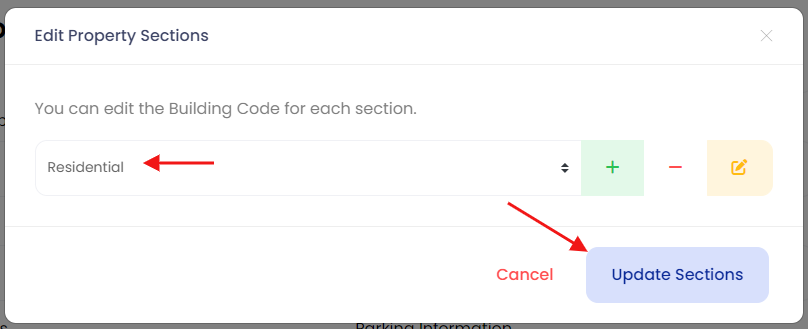
Click the Edit button to the right of the drop down menu.

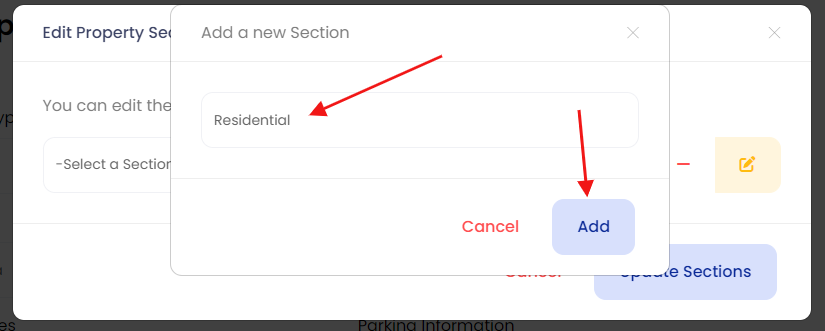
A pop-up window will appear for you to add the Section information.
Click the green “+” button.
Give the Section a Name, then click ‘Add‘
When the pop-up overlay closes, click the ‘Update Sections‘ button.
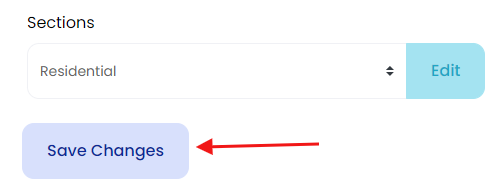
The last step is to click on the ‘Save Changes’ button on the ‘Edit Property’ page.
Now a new Section has been added to the property.
You will also find a new folder in the ‘Manage Document’s section for the property.
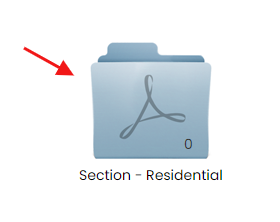
Inside you’ll find all of the same default folders.
Depreciation Reports for the section should be uploaded to the ‘Depreciation Reports’ folder. The report will be included with a From B request for the Section.
DO NOT upload any Depreciation Report if it is the same report for the entire strata. Just upload to the the main strata if they share the same Depreciation Report.
Otherwise two copies of the same report will be included with a Form B request and will need to be refunded.
Same goes for the ‘Form B Required’ folder.